Short answer: An EV ready driveway has a spare capped conduit sleeve laid during base prep. It goes in before any asphalt is placed. Run that empty sleeve from the panel side to the parking spot. Leave a pull string inside. Later you just pull a wire through, no cutting needed. Reinforce the pad where the car will sit. Then write down the exact sleeve route. This costs little now and saves a lot later.
Why plan for EV charging now
Most people add an EV charger after the driveway is done. That means cutting the asphalt, trenching, and patching. The patch never looks the same. It can also become a weak line that cracks.
You can skip all of that. Plan during the build. While the base is open, you drop in an empty pipe. It costs a few dollars in conduit. The labor is near zero. The crew is on site.
I tell people this is the cheapest upgrade they'll ever make. A wire can come years later. The hard part is the buried path. That's done. Still choosing a charger? The federal guide to home charging walks through the types.
There's a resale angle too. More buyers drive an EV each year. A driveway that's ready to charge is a clear plus. You may not own an EV today. The next owner might. Plan the path now. Your home stays current with no extra work later. It's a small, smart step. It pays off for years.
Where to put the charger and the sleeve
Start with two points. One is your electric panel. The other is where the car nose or charge port will sit. The shortest path between them is your sleeve route.
Put the charger on the panel side of the driveway when you can. A shorter run means cheaper wire and less voltage drop. Mount the charger on a post or wall. Set it about three to four feet off the ground.
Measure the parking spot too. Know where the car door and the charge port land. That sets the exact end point for the sleeve. The cord will reach with slack.
Each car puts its charge port in its own spot. Some are at the front. Some are at the rear or the side. You can't know your future car. So aim the sleeve end near the middle of the parking spot. A mid point gives the most reach each way. Add a few feet of cord slack on top. That covers almost any car you might buy later.
How to build an EV ready driveway sleeve
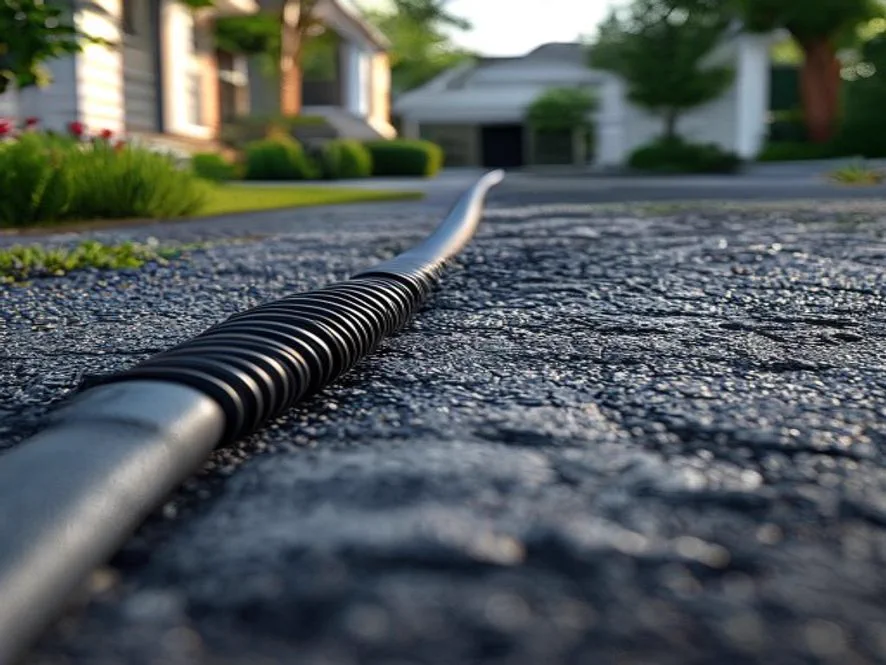
The sleeve is just empty pipe in the base. Use 1 inch or larger PVC conduit. Bigger is better. You can't widen the pipe later. Run it below the gravel, deep enough to clear the asphalt and base.
Lay the pipe during base prep. Do it before the crew compacts and paves. Solid base work is the key to a driveway that lasts. So read our base prep guide first. Cap both ends so no gravel or water gets in. Then leave a nylon pull string inside the whole length. That string pulls your wire through later in minutes.
Keep the bends gentle. Sharp turns make it hard to pull wire later. Use sweeping elbows, not tight ones. The pipe will leave the ground near the panel. Bring it up there in a smooth curve. Tape the cap on tight so it doesn't pop off during paving. Take a little care here. The wire will slide through with no fight when the day comes.
Reinforce the parking pad
An EV is heavier than the gas car it replaces. Battery packs add weight. The spot where the car parks each day takes the most stress.
Build that area a bit stronger. Add an extra inch of asphalt or a deeper base under the parking pad. A firm, thick pad won't rut under daily heavy loads.
Want the numbers? Our driveway thickness guide shows standard versus heavy specs. Planning to run power yourself? See how to handle an EV charger line under the driveway the right way.
You don't need a slab for this. Just a stronger section is enough. Tell the paver which spot is the daily parking zone. They can add depth right there. A firm base is the real fix. Loose base under the parking spot is what ruts first. Get the base solid. Add the extra inch on top. The pad will hold a heavy car for many years.
Mark, cap, and document the run
This step saves you a headache in five years. You must know where the sleeve is. Then you never dig blind.
- Both ends: cap and mark with a stake or paint.
- Photos: take photos before paving with a tape measure in view.
- Depth: write down how deep the pipe sits.
- Distances: note the run from the panel and from the garage corner.
- Pull string: confirm the string runs end to end.
Keep this with your home papers. A clear map turns the future job into a one hour task. Without it, you're guessing.
Snap a quick video too. Walk the route and talk it through as you film. Future you'll thank present you. Save the photos and the video in a folder you'll find again. Email them to yourself so they live in the cloud. Memory fades over a few years. A clear record never does. This step costs nothing. It cuts out all the guesswork later.
What this costs and saves
The extra parts are cheap. A length of conduit, two caps, and a string cost under 50 dollars. The crew adds it in minutes while they prep the base.
Compare that to the future. Cutting and patching the new asphalt can run hundreds of dollars. The patch can crack and let water in. You avoid all of it with one sleeve.
Think about resale too. An EV ready driveway is a real selling point. Buyers like knowing a charger is easy to add. You spend a little today. The home is ready for the next car you buy.
One more thing to plan is the panel. Ask your electrician if your panel has room for a charger circuit. A charger often needs a 50 amp slot. If the panel is full, you may need an upgrade later. Knowing that now helps you budget. Pair a ready panel with a ready sleeve. The future install is simple. The wire goes in, the breaker goes on, and you're charging.
Common mistakes to avoid
A few small slips can undo all this prep. Here are the ones I see most. Dodge these and your sleeve will work like a charm.
The first is skipping the pull string. An empty pipe with no string is hard to wire later. Always leave the string. The second is using a pipe that's too small. Go bigger than you think you need. The third is bad records. A sleeve you can't find is no help at all.
One more is poor timing. The sleeve must go in during base prep, before paving. If the crew is laying asphalt, you missed the window. Talk to your paver early. Tell them you want an EV ready driveway from the start. Then check that the sleeve is in before they pave over it.